Posted on

The DIR-knot

Done!

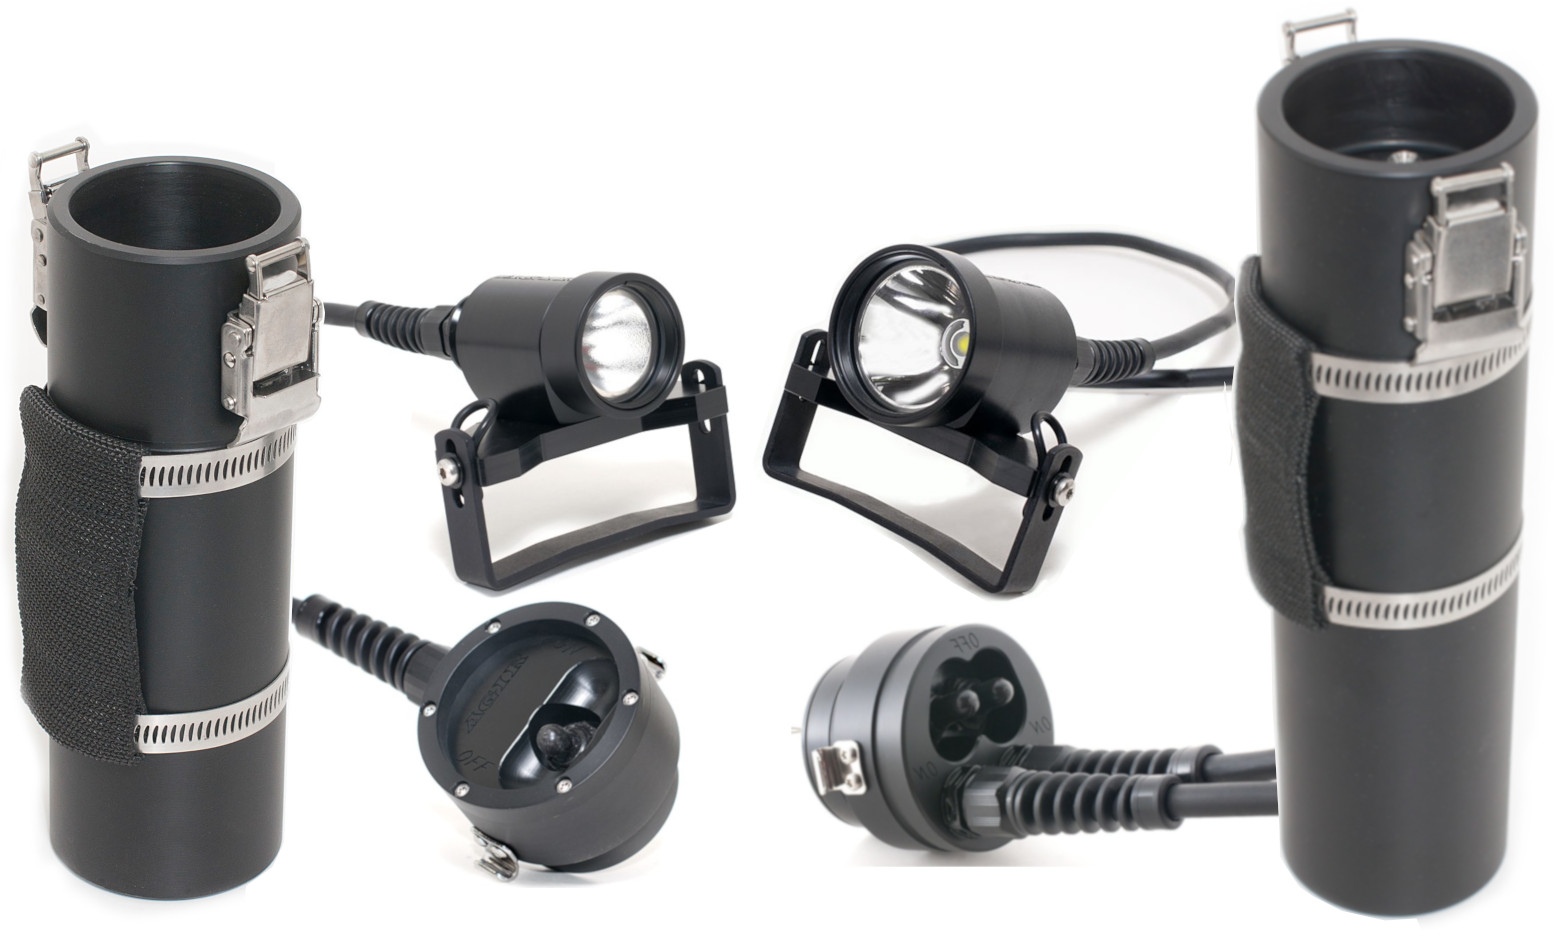
Do you need to attach a clip to a hose, SPG or backup light? Struggling with figuring out how to do it?

Maybe you have been told that there must be no metal-to-metal connections. Maybe you have seen other divers use zip-ties, o-rings or special breakaway contraptions that are single use.

When you attach a piece of equipment to yourself or to your rig there are a few factors to consider. First of all, the attachment must be reliable and dependable, it should not come loose. Second, for safety, in an emergency, it must be possible to disconnect, either by force or with your dive knife or cutting tool. Also, it is an advantage if it is a simple, cheap and readily available method.

Let us take a look at the DIR-knot. You will need a piece of string, approximately 30 to 50 cm, depending on what you want to attach. You will find suitable line on your spool or reel. You will also need a cutting tool (dive knife or similar) and a source of heat, such as a lighter.

Tying the DIR-knot

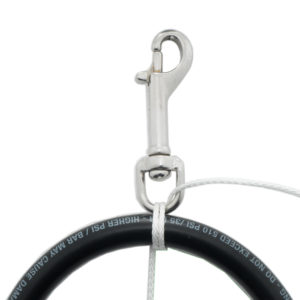
First, place the two items you want to attach next to each other. Work on a surface where you can position the items so you can use your hands to manipulate the string.

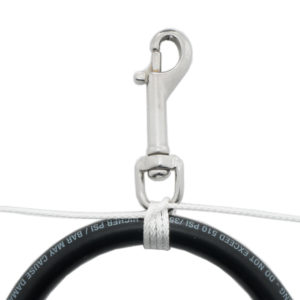
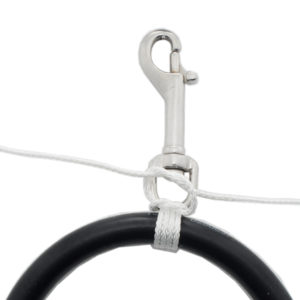
Make sure the string is long enough to grip so you can tighten the knot thoroughly, with some force. Start by threading the string behind and up through the eye of the clip.
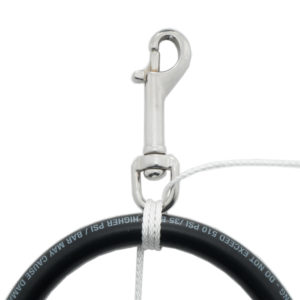
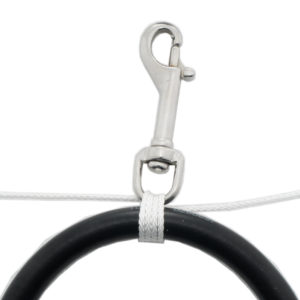
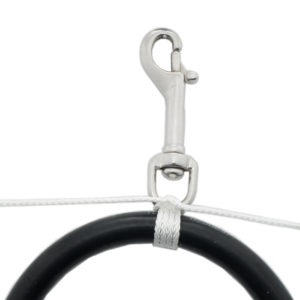
Thread through clip.
Thread the string through the eye of the clip.

Three turns

Then continue by looping the line around the two items three times. Try to align the string so that the three turns sit nicely in order, next to each other, from left to right. This will make the knot tidy and look good but also improve its reliability.
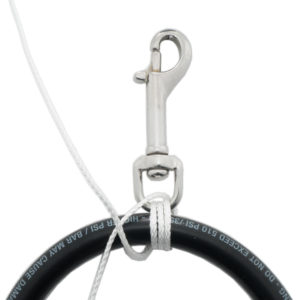
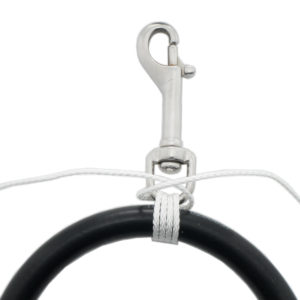
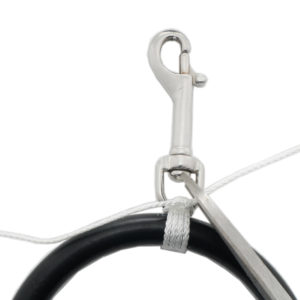
Pass around.
Pass the string around and then through the eye of the clip again.
Repeat for second turn.
Repeat the previous steps again for a second turn.
Repeat for third turn.
Then do a third turn.

Overhand knot

Make an overhand knot on the first side. If done right it will sit nice and perpendicular to the three turns. Tighten the knot as much as you can.
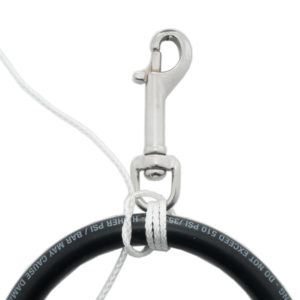
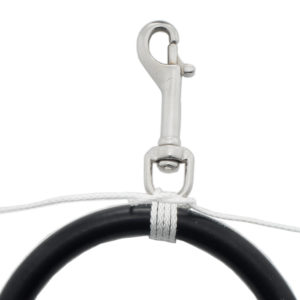
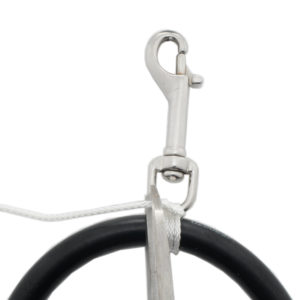
Cross ends.
Cross the ends of the string, and…
Make overhand knot.
…make an overhand knot
Tighten overhand knot.
Tighten the overhand knot.

Turn over

Carefully, while keeping the overhand knot tight, turn everything over.

Turn over.
Turn everything over so the overhand knot faces away from you.

Reef knot

We will make a reef knot. A reef, or square, knot is essentially two overhand knots on top of each other. One done left over right and the other right over left (or vice versa).

Make an overhand knot. Just like on the first side. Left end in front of the right. Tighten well.

Cross strings.
Cross the strings, left end in front of the right end, and…
Make overhand knot and tighten.
…make another overhand knot. Tighten.

Try to keep the first overhand knot tight while making another one. This time with the right end in front of the left. The knot should be square and symmetrical. If it is not, it is a granny knot, which will not hold as well.

Cross strings again.
Cross the strings again, this time with the right end before the left end.
Make another overhand knot.
…make another overhand knot over the other.
Make a reef knot.
Forming a reef, or square, knot. Make sure it is symmetrical, a granny knot will not hold as well. Tighten.

Melt and trim

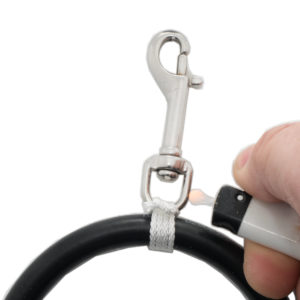
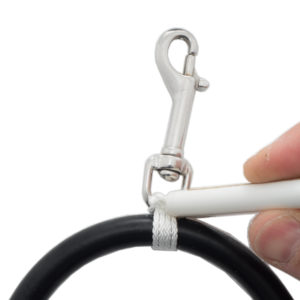
We are almost done. Just need to trim and secure the ends. Start by cutting them. Leave about one centimeter of string on each side.

Cut one end.
Cut one end.
Cut other end.
Cut the other end.

Then carefully, using the lighter, melt each end. Take care so you do not damage any of the attached items. Use the back of the lighter, pressed to the melted string, to flatten the ends and create a mushroom shape. This stops the knot from unraveling.

Melt end.
Use a lighter to burn and melt the end.
Press melted end into mushroom.
Then use the lighter to press the melted end into a mushroom. Repeat for the other end.

Check the knot

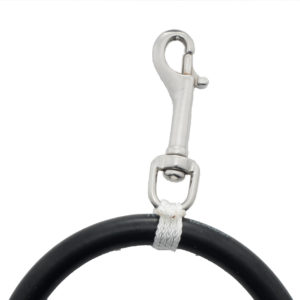
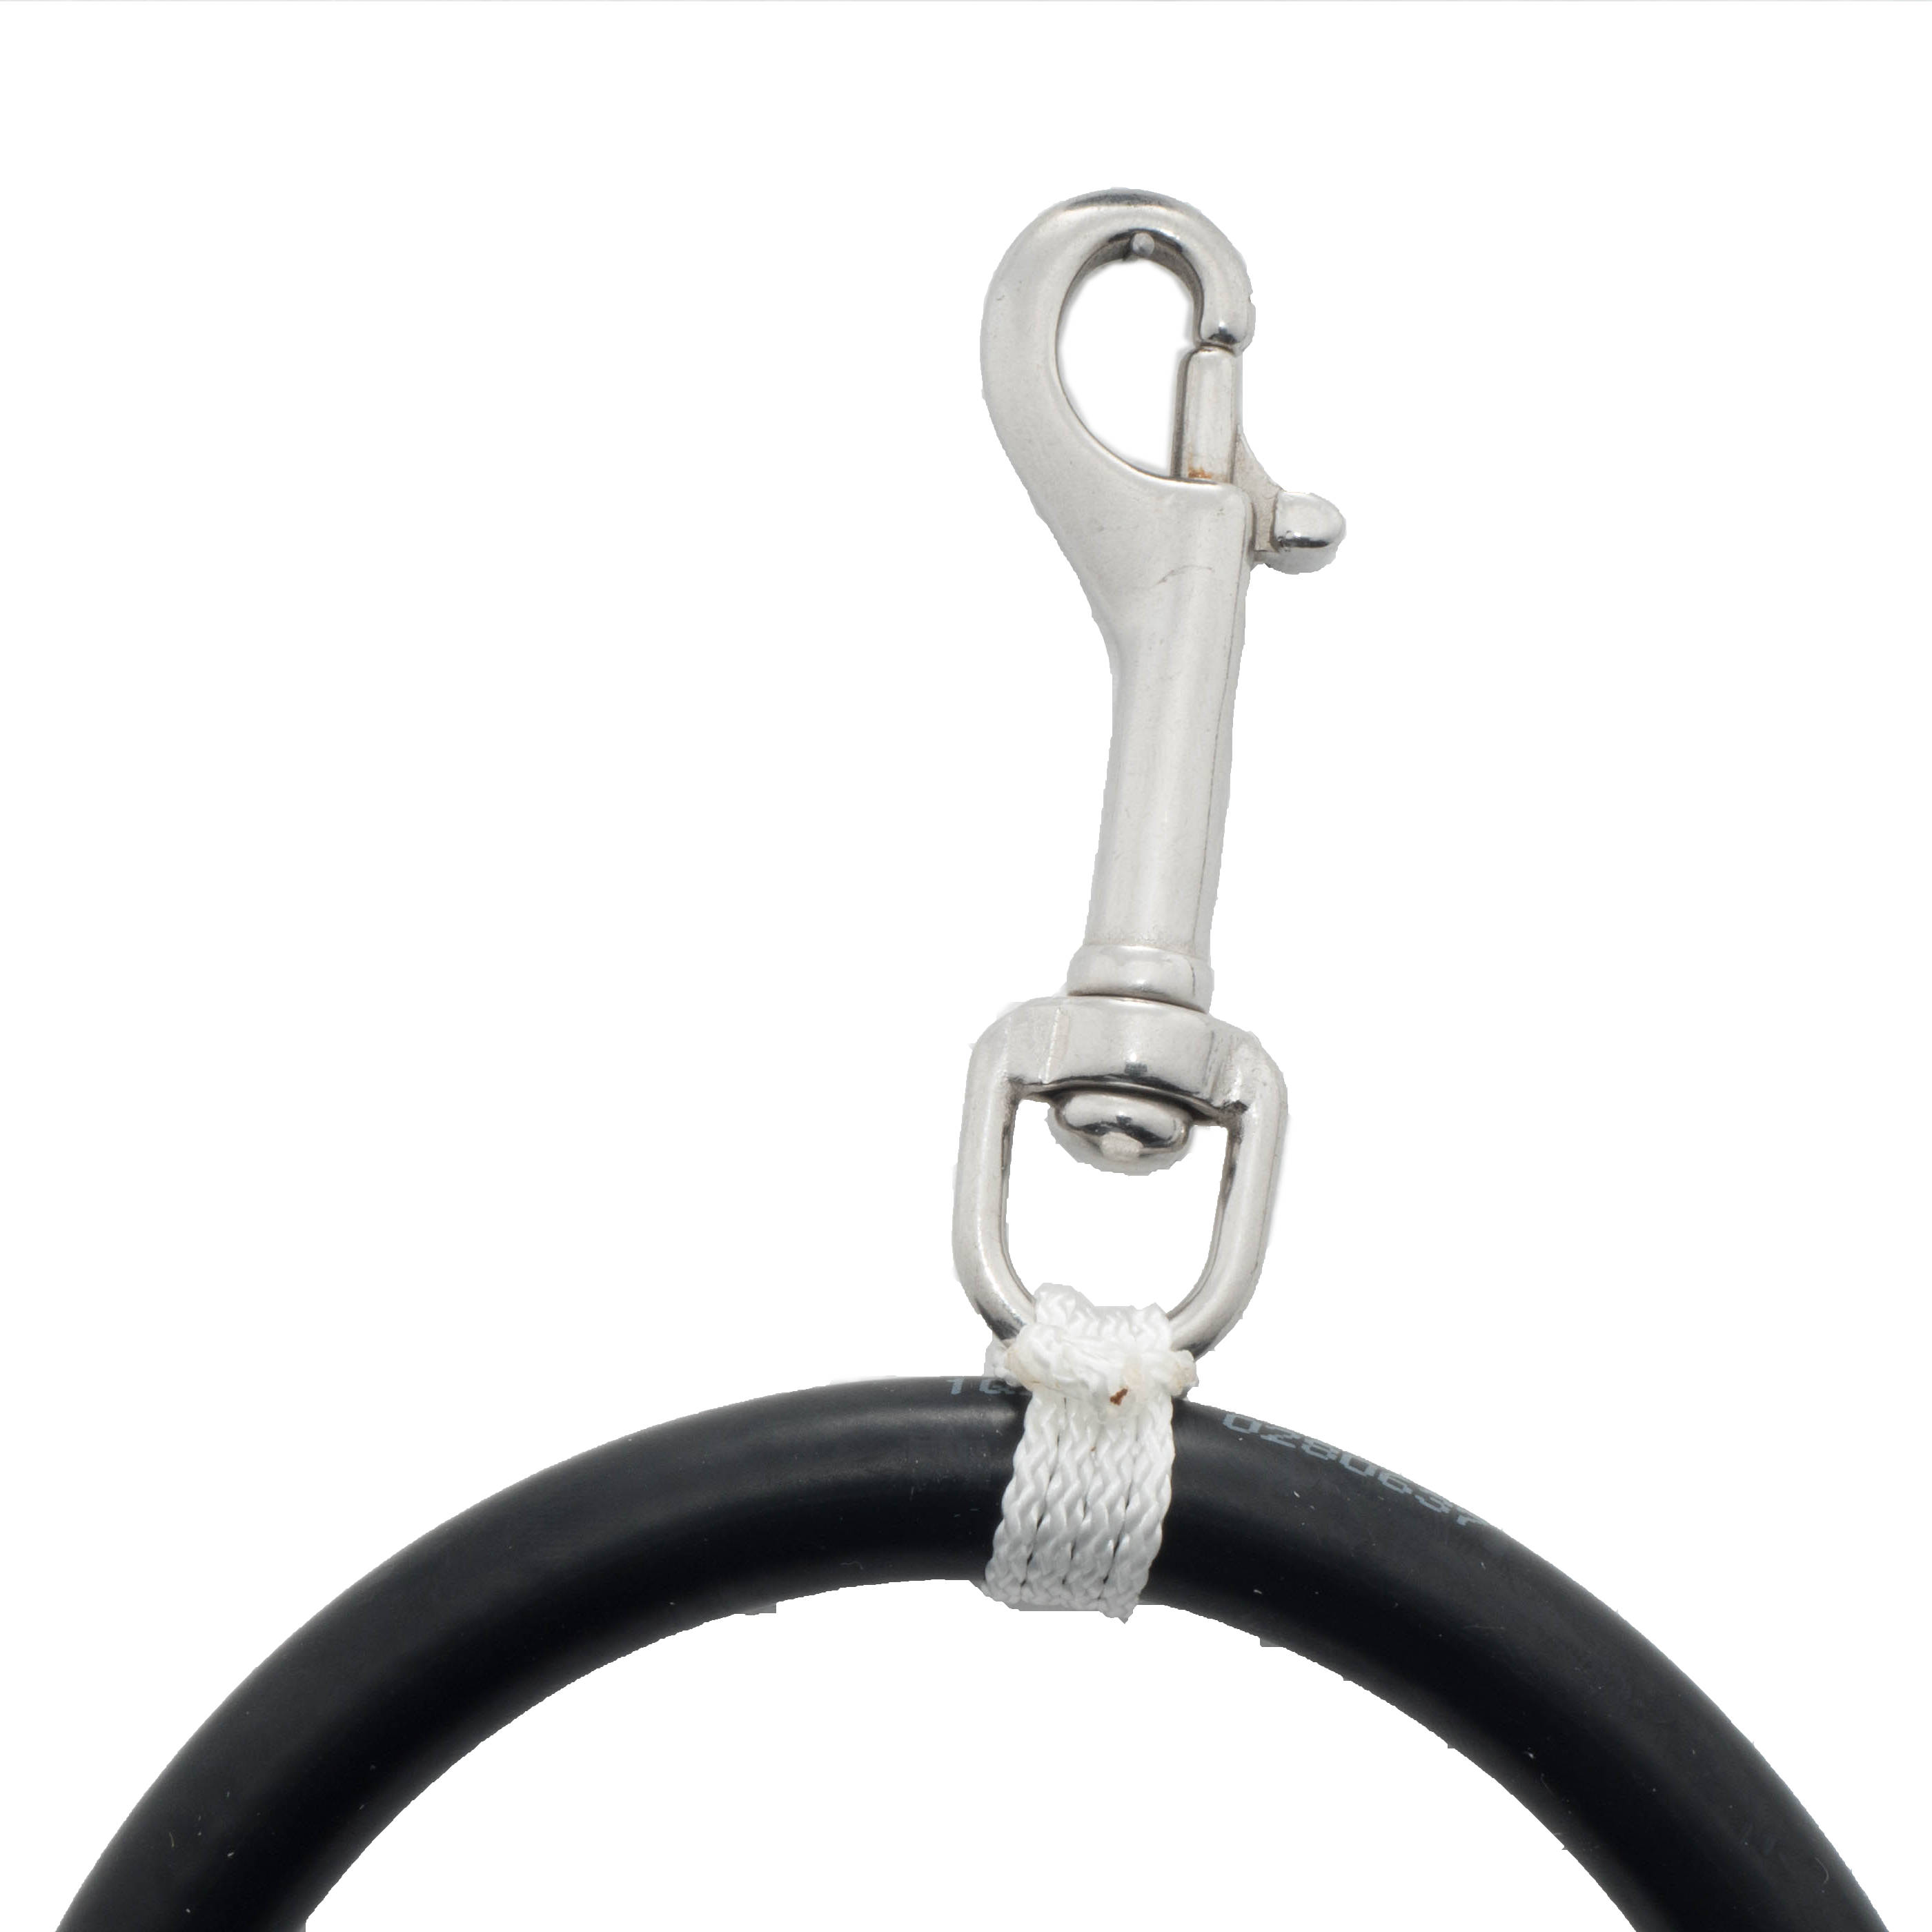
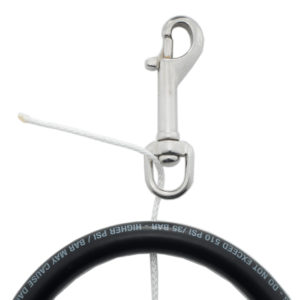
You are almost done. Inspect your handiwork. Eye the knot, check that you made a square knot. Pull and twist on the clip to make sure the knot is good. Now you have a secure attachment of one item to another. In an emergency you can cut the items free with a knife or cutting tool.

Done!
You are done.
Posted on

Buying a primary light

Choosing a dive light

As a new diver, one of the first pieces of equipment to get is a dive light. When shopping for a light there are a few factors to consider.

What type of diving do you do? Are you limiting yourself to daytime, tropical, warm water diving? Will you want to try night diving? Do you dive at home as well as on vacation? Are you an advanced technical diver or a cave diver?

Read more, we have the primary light for you.

The Agir light system

The Agir light lineup is encompasses a broad range of modular products that is suitable for all types of diving.

Our flagship, the 34 Ah 28 W LED with dual outputs is a light for the diver that needs lots of power and illumination during really long dives. The 28 W LED light head outputs approximately 4000 lumens in a tight spot with a pleasing corona. The secondary output can be individually controlled and connected to heated undergarments providing comfort during really cold dives.

At the other end of the lineup we find the convenient 2 W LED Arthur backup light. Small enough to conveniently fit into a BCD pocket, but best mounted with a clip on your shoulder strap. In between these two extremes are one of our most loved lights; the 10.4 Ah 10 W LED canister light.

The 10 W LED with the 10.4 Ah battery pack is used and loved by many divers. It demonstrates a great tradeoff between canister size and weight, light output, burn time and economy.

A modular system

The Agir range of primary lights are modular. An Agir primary light is composed of three main components; the light head, the battery pack and the lid.

Our canisters comes in four different sizes; the largest 34 Ah battery, the big 18.2 Ah battery, the 10.4 Ah battery pack and finally the 3.2 Ah battery pack for the handheld light.

We offer two (three) different light heads, first the big 28 W LED head, then the 10 W LED light head and also the 10 W LED light for the handheld convertible light.

The lids come in two sizes; 70 mm for the 10.4 Ah and 18.2 canisters, and 90 mm for the 34 Ah canister. The lid can be either the standard lid with one output or the dual output variant.

Between the lid and the light head is a cable. The cable is either a continuous cable or it can be a wet-mateable e/o connector cord.

This modular design provide a wide range of variations, in fact, 32 different lights can be put together using our light heads, battery packs and lids.

A light for every diver

The modularity means that, if you are looking for a primary light: we have it.

Modularity has a number of benefits. First of all, it means that we have the best light for you. Among all the different variations, there is a light that is tailor made just for you.

Upgrades are painless

Second, if you ever feel you need to upgrade, maybe from the smaller 10 W LED light head to the bigger 28 W LED light head, you do not have to buy a new primary light. Just get the bigger light head and connect it to your canister. If you would like to be able to swap between the 10 W head and the 28 W head, you can either attach a new lid to the new light head or you could swap the standard cables for e/o connectors on both your heads and on your lid. Each solution has its benefits.

Travelling and diving

For the travelling diver, a great solution is our handheld 10 W LED primary light combined with a cable-to-lid adaptor and a canister style battery pack. Use the smaller handheld battery pack for travel to save weight and space in your luggage. When diving at home, maybe in cold waters, use a big 18.2 Ah canister with dual outputs to power both your light head and your electrical underwear.

Replacing parts

While our lights are robust and hard wearing, sometimes, after many years of service, parts may need to be replaced. Modularity means you do not have to get a new light. Instead, for example, just switch a worn out battery pack for a new, fresh one.

Grows with you

Modularity also means that your light grows with your diving. If you see yourself mainly doing diving during vacations to tropical destinations, then get the 10 W handheld primary light to start with. It is small and light, but provide the same light output as our most successful primary light the 10.4 Ah 10 W LED light.

Whenever you feel like you want to advance your diving career and need a canister style primary light on a Goodman grip: just add an adapter and a canister and put your light head on a Goodman grip. You can now use your light as a handheld torch on vacations and you have an excellent canister light. Later on you may want a dual output lid to power heated underwear for those long cave or mine dives.

Conclusion

Out of all the possible variations, there is at least one that fits you. The right primary light for you is one of ours. You will not go wrong starting small: upgrading later is a breeze. And a piece worn out after years of service can be easily replaced. Investing in the Agir light system means getting the best value for your money.